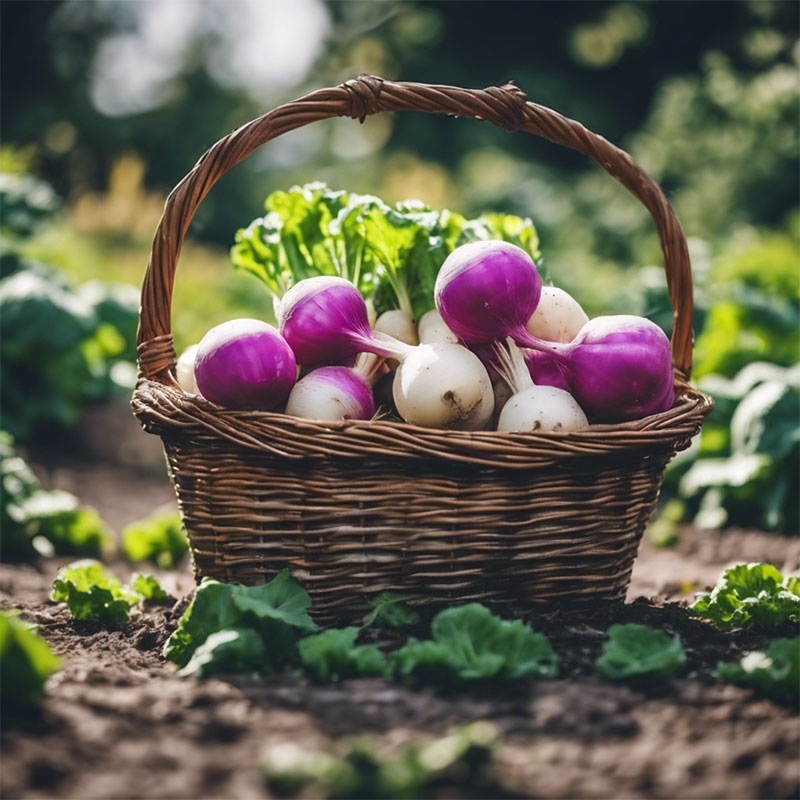
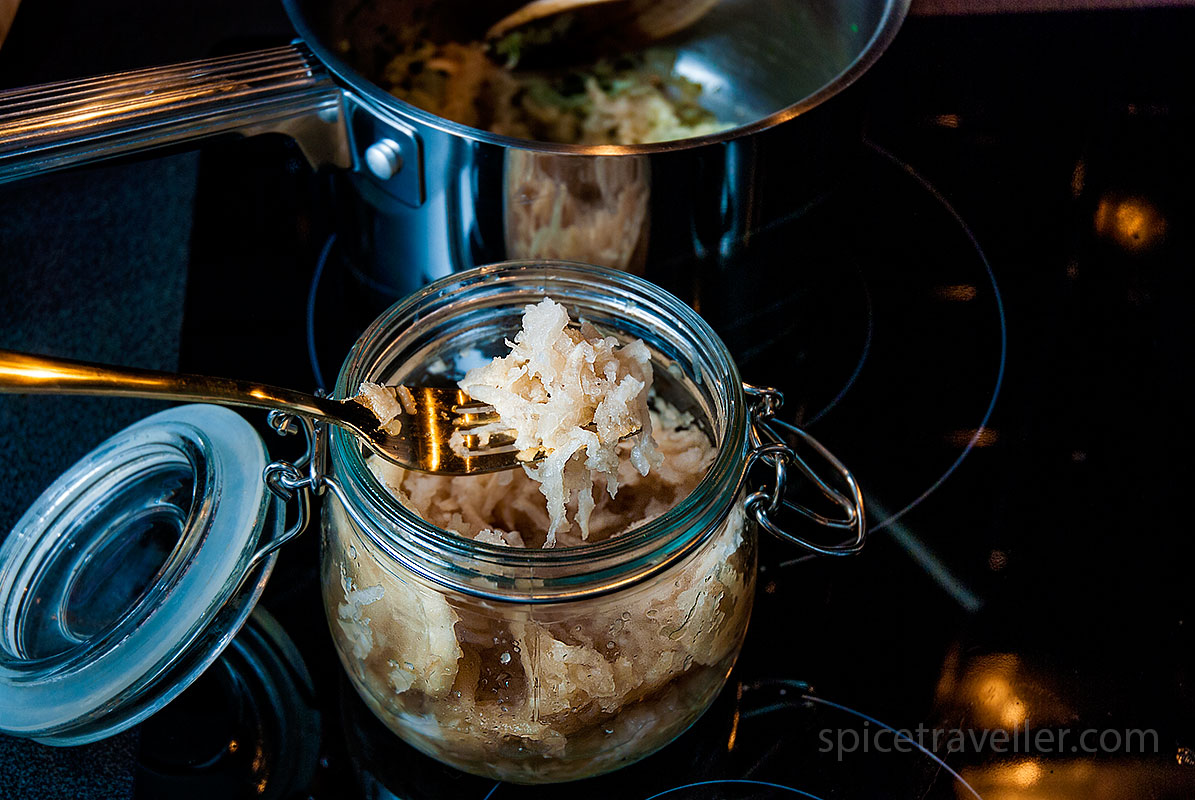
During the winter months, pickled turnips make for a perfect alternative to pickled cabbage or sauerkraut. They boast a low-calorie count and pack a nutritional punch, offering a tasty and health-conscious choice for the winter months. Here is a simple – how-to pickle turnip or swede – guide.
Recipe story
Pickled cabbage, also known as sauerkraut, is popular in every corner of Croatia. This culinary gem is a star ingredient in salads, sides, soups, and stews, delivering excellence whether served hot or cold. I adored pickled cabbage, or sauerkraut, since my early childhood. My mum would serve it consistently during the winter months.
But beyond the sauerkraut, there was something else i loved very much – a pickled swede. Used just like sauerkraut, this strange veggie became my favourite.. I absolutely loved this as a child, which was rather unusual – it’s not the most exciting or visually appealing vegetable, and its tangy taste might typically discourage any kid! But not me, i totally loved this, especially pickled swede or turnip, as it has firmer texture than pickled cabbage.

So, whether it’s turnip or swede, it’s so delicious in hearty winter soups or stews. The best part? It’s so simple to make, and you won’t have to wait long until it is ready to grace your dish of choice!
Sauerkraut is easy to find in most supermarkets, but turnip or swede, not so much, if at all!
So, why not have a go at making your own? Learn how to pickle turnip and add a burst of unique flavours to your kitchen repertoire. Give it a try today, and share how it goes! You can make a bunch and keep it as a winter essential.
Essential Ingredients & Substitutions
- turnip / swede – I used the vibrant green swede variety, however, feel free to use any type of swede or turnip available. You can even experiment by combining the two, creating a fusion of flavours that adds a unique twist to the dish.
If you’re looking for a substitute, consider swapping the swede or turnip with other root vegetables like carrot or parsnip for a different yet equally delicious twist to the dish.
Cooking & Tips
- For this recipe, I used 500g of swede, yielding four hearty portions of winter soup.
- When it comes to pickling, consider using preserve jars for smaller batches. However, if you’re planning to prepare a larger quantity for winter preservation, opt for large food containers initially. Once the two-week pickling process is complete, transfer the pickled root vegetable into 1L preserve jars and label them for easy identification.
- Purchase about 15-20% extra vegetables than your calculated requirement, accounting for any loss during the peeling process.
- When you add grated swede to the jar or container, sprinkle the first layer with sugar and the rest with salt. The sugar helps fermentation. The ideal temperature for the fermentation process is 20 C, ensuring completion within a two-week timeframe. If the temperature is lower, the fermentation process will take longer.
- For quantities ranging from 500g to 1kg, 10 days should suffice for pickling. However, for larger amounts, it’s advisable to extend the pickling time to 2 weeks.
Learn how to pickle swede and turnip with these useful tips.
Recipe Card

How to pickle turnip Croatian – style
Ingredients
- 500 g turnip
- 3 tsp sea salt
- 1/2 tsp sugar
- 1-2 bay leaf - optional
Instructions
- Buy a fresh turnip or swede, either will work perfectly for this recipe.
![]()
- Begin by trimming the turnip. Cut off the stem end (top) and the root end (bottom).
![]()
- Peel the turnip's skin using a vegetable peeler, ensuring to remove any outer layers for a clean and fresh base
![]()
- Use a blender with a grating metal attachment for efficiency or grab a handheld grater to finely grate the peeled turnip
![]()
- Use a properly clean preserving jar and add the first layer of freshly grated turnip. press down with a spoon. Then sprinkle with sugar. Only the first layer is covered with sugar. For the subsequent layers, generously sprinkle some sea salt. Remember to press down on each layer as you go.
- After filling the jar, press down once more, allowing a few minutes for the natural juices to emerge. Press again until the liquid covers the grated turnip, ensuring it is fully submerged. Finally, place a small plate on top to keep the turnip pressed, and seal the jar securely.
![]()
- After 10 days, your pickled turnip is ready! Use it to add a burst of flavour to your favourite soups or stews!


