Get ready for Thanksgiving and Christmas: Learn how to debone a whole turkey and serve up a delicious roast!
Overview
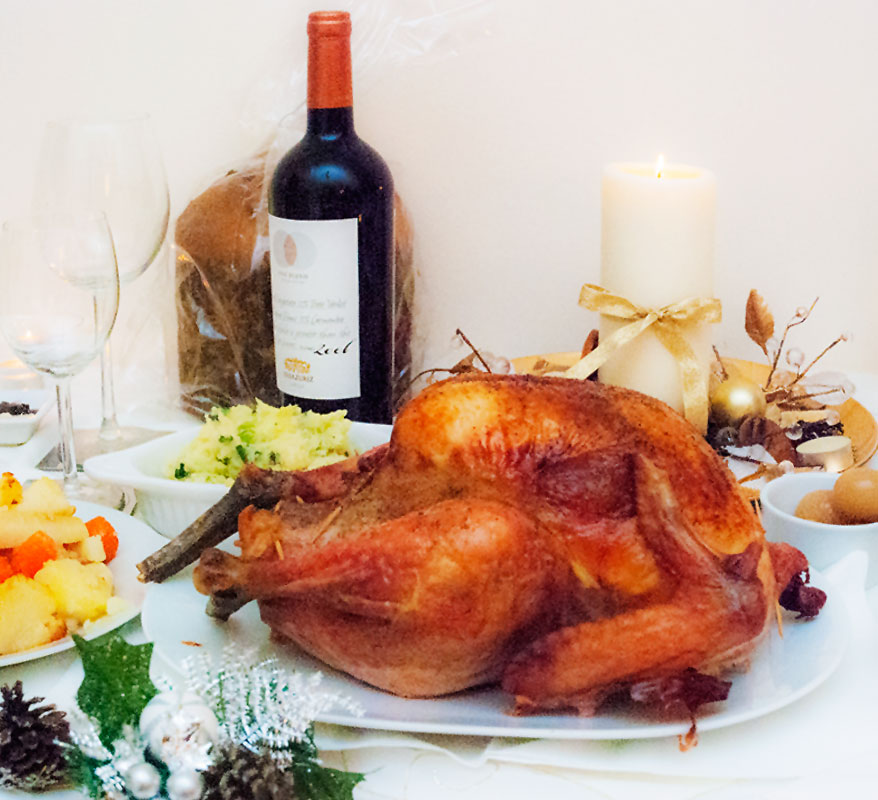
Tired of the same old turkey roast routine?
Add variety to your turkey roast by learning how to debone a whole turkey for a visually stunning and easy-to-slice roast.
Minimize waste while maximizing flavour by using up the whole turkey
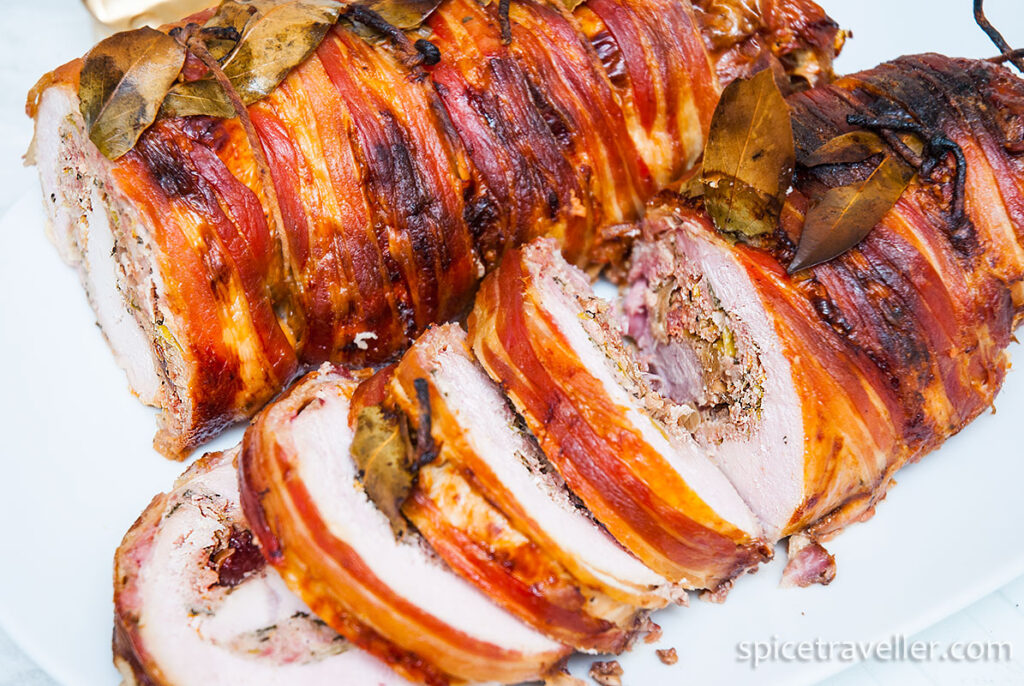
Why opt for a deboned turkey?
- Presentation: A deboned turkey graces the platter with elegance. The absence of bones provides a sleek and sophisticated appearance, transforming it into a striking centerpiece for any festive or special gathering.
- Efficiency in Cooking: Deboning accelerates the cooking process compared to a whole turkey. Freed from bones, heat permeates more efficiently, reducing overall cooking time while ensuring a succulent and flavorful outcome.
- Deboning unleashes a world of culinary possibilities. The turkey’s newfound versatility allows for creative experimentation with various stuffing options, the ability to roll and tie for a distinctive presentation, and the crafting of a delicious roulade.
It might seem like a bit of a kitchen quest, but trust me, learning how to debone a whole turkey is like unwrapping a tasty surprise. All you need is a pinch of patience and a sprinkle of time, and you’ll be a turkey-deboning pro in no time – it’s easier (and more fun) than you think!
Deboning & Tips
- Ensure you have a small, very sharp knife as well as sharp kitchen scissors for easy manoeuvring around the bones.
- You’ll also need a spacious cutting board to comfortably navigate the bird, especially if you’ve purchased a very large turkey. Mine was just under 4kg, and my kitchen counter was spacious enough. I place my turkey on an aluminium foil.
- Try and familiarize yourself with the bone structure of the turkey. Understanding where the joints and bones connect will make the process smoother. You would want to start cutting from the back. The most difficult part is cutting and removing meat around the leg bone (drumstick).
- Some parts of the turkey, especially near the joints and in the legs, might have tough connective tissues. To make it easier, you can use scissors to cut through these areas. Do this at the end of the process after you’ve deboned the entire turkey. I also used scissors to cut around the leg bone.
- Important: It’s crucial not to cut through the skin while deboning, as the skin plays a vital role in holding the whole turkey roast together. However, if, by chance, you do puncture the skin, don’t worry. Keep going and continue with the rest of the turkey carefully. As long as there is some skin left to hold it together, you’re in good shape.
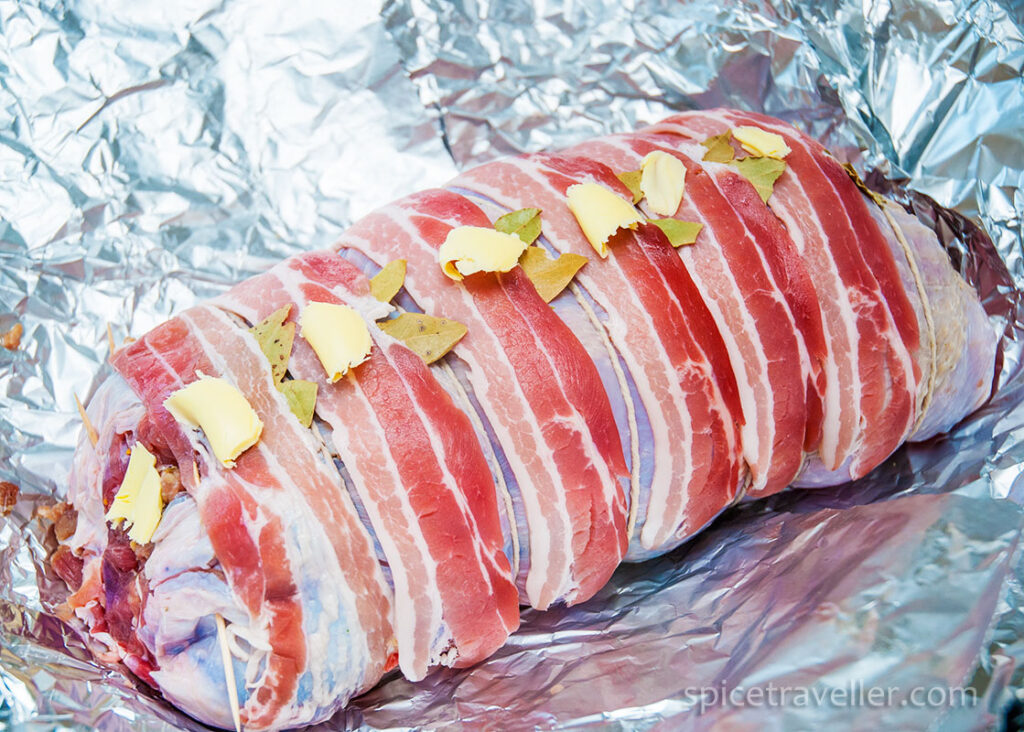
In case you’ve cut through the skin in certain parts, fear not! When preparing for roasting, you can cover those areas by placing bacon rashers over the entire turkey. The bacon will act as a savory patch, holding everything together beautifully. So, no matter how the deboning process goes, rest assured that when it’s time to dress it up or stuff it, everything will come together perfectly.
Leftovers Use
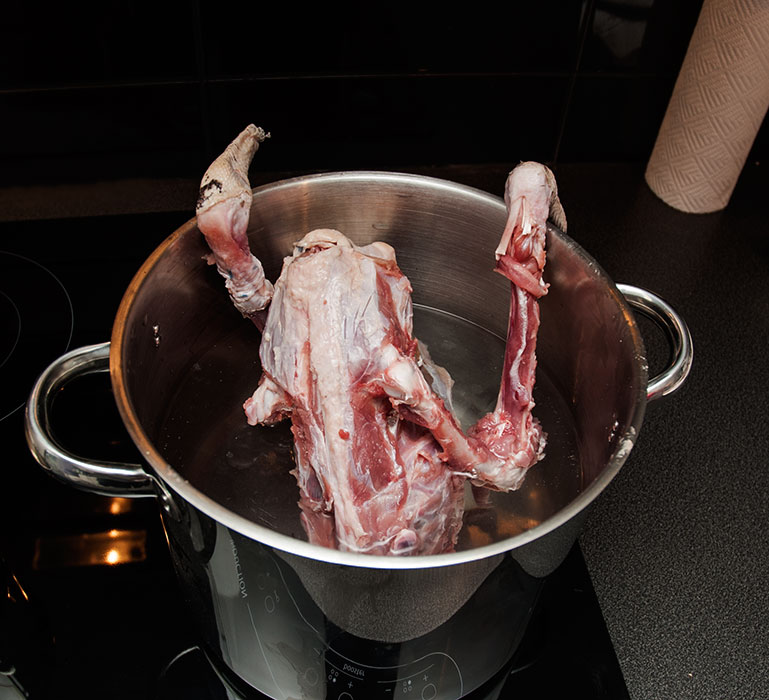
Your turkey may have come with giblets – don’t discard them. They’re ideal for crafting a delicious gravy to accompany your turkey roast and for a fantastic soup that will impress your guests! Don’t forget to use the wings in the same way!
Concerning the carcass, either break it into pieces and store it in the freezer for future stock, gravy, or soup, or cook the entire carcass, with or without vegetables, for a perfect gravy and soup.
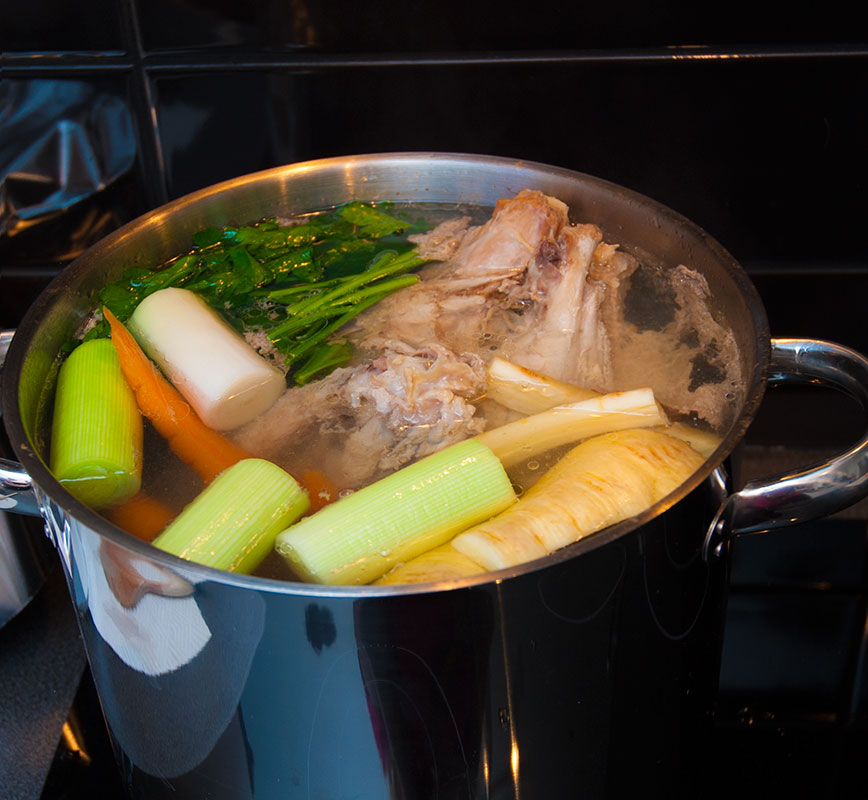
Explore my other recipes for more culinary inspiration.
Serving & Presentation
Once your turkey is deboned, you have many possibilities for what to do with the meat.
Simple roast – You can lightly season it with herbs and spices of your choice, then roll each side towards the middle, turn it on its back, and tuck the sides in little bit more and roast it as is—similar to roasting a whole turkey. The advantage here is that instead of carving parts of the turkey, slicing it will use the entire turkey without any waste.
Roast with stuffing – Alternatively, for a more luxurious presentation, you can tenderize the meat to flatten it for easy spreading of the stuffing of your choice. Butterflying the breasts may be necessary as they tend to be thick, providing an extra layer of meat once butterflied.
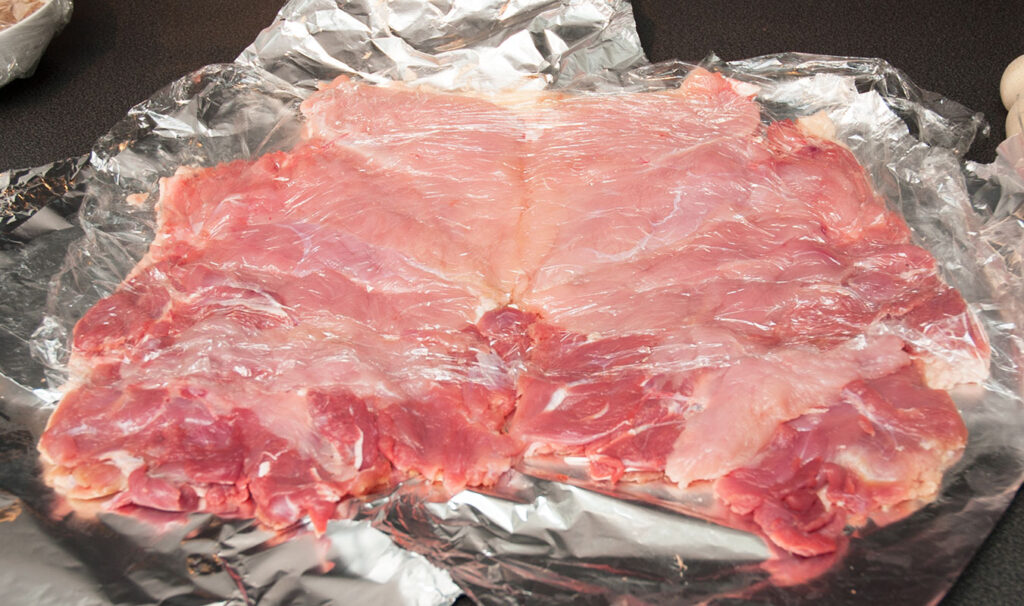
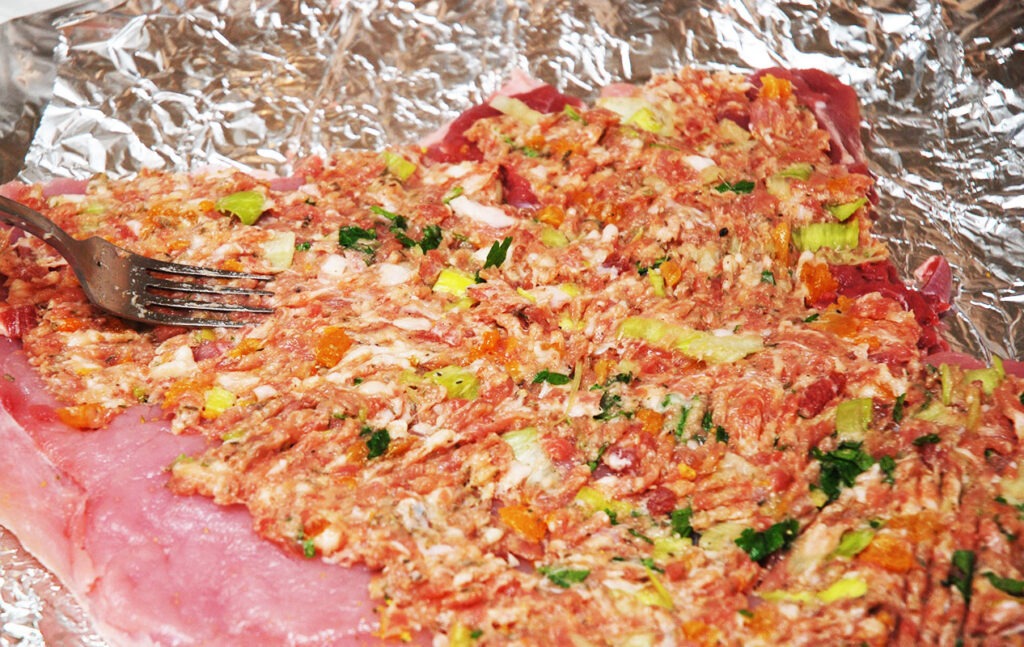
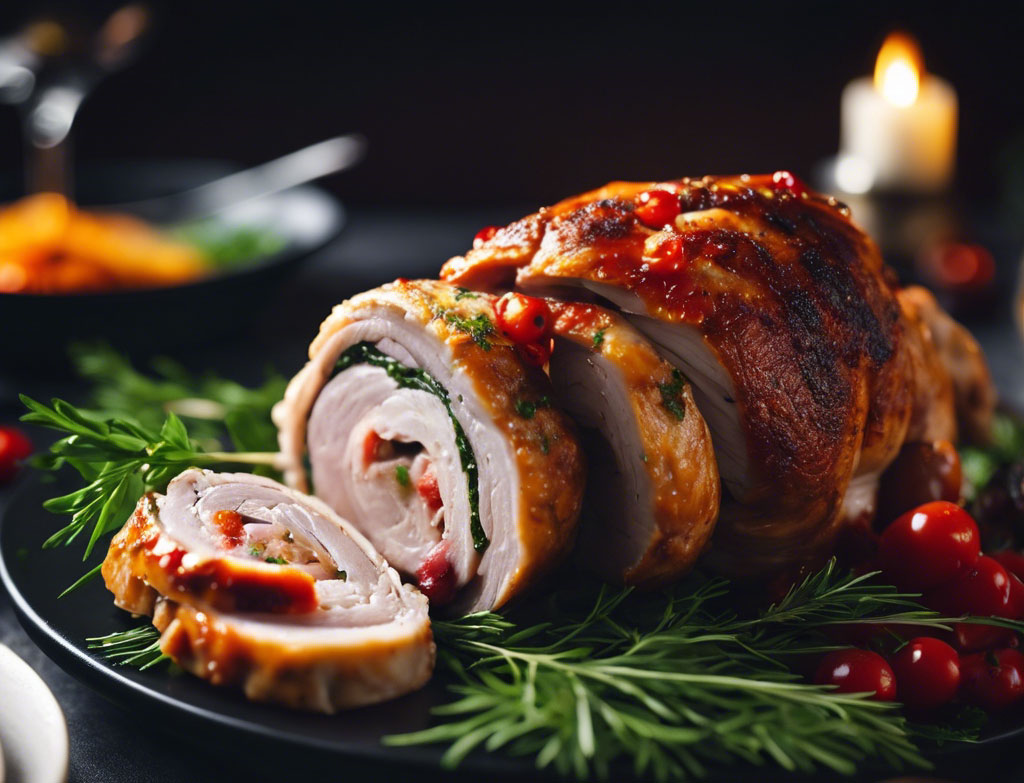
Try one of these delicious and festive turkey roulades.
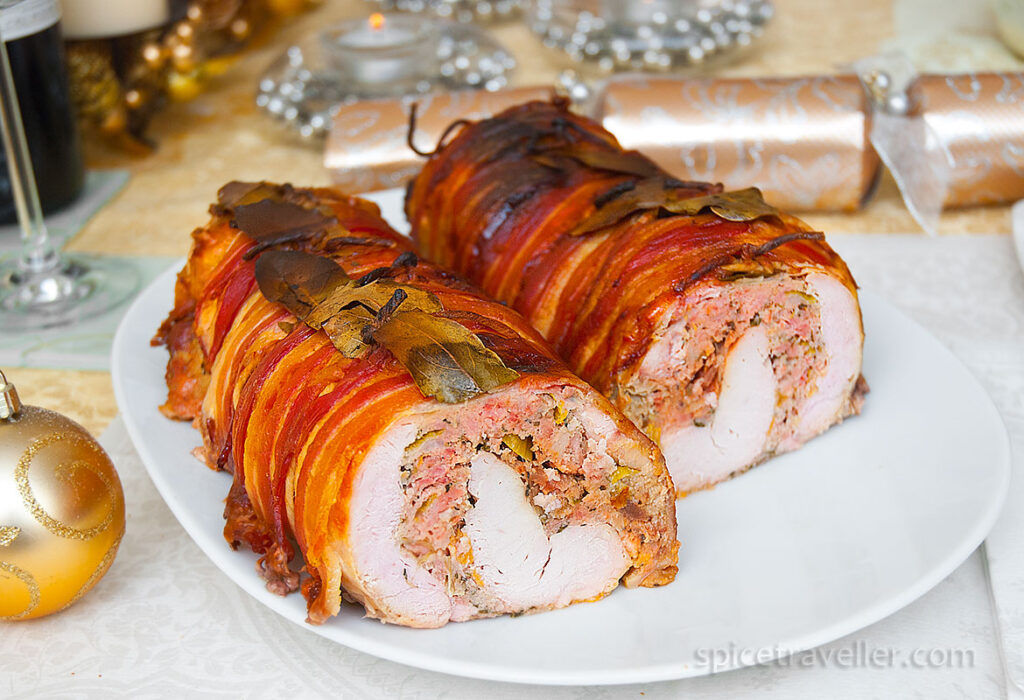
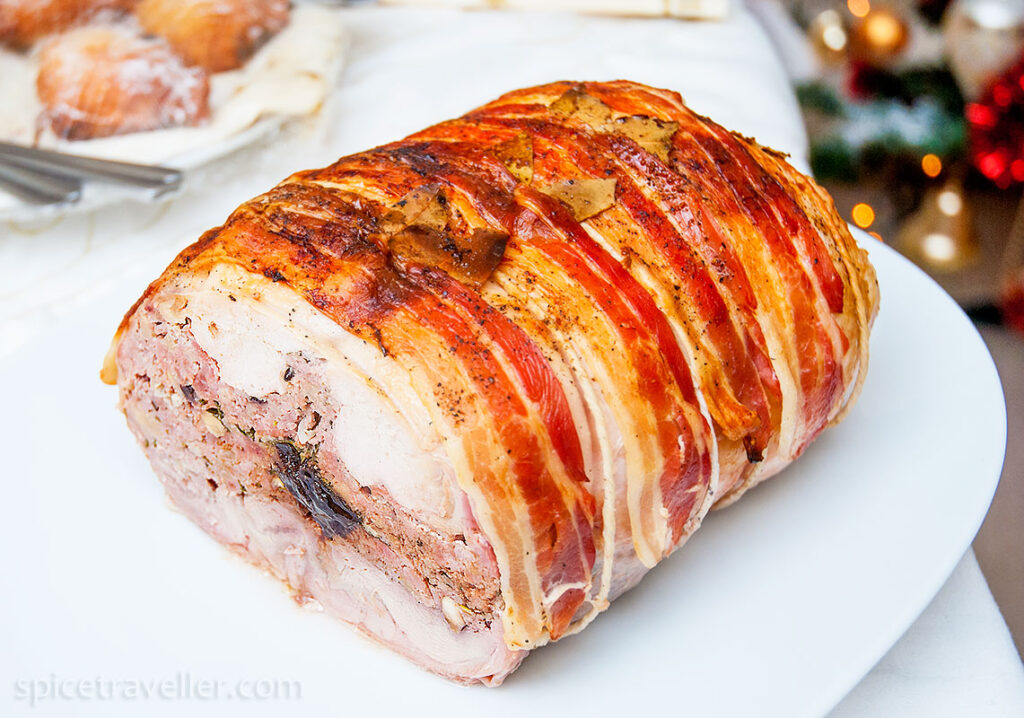
After spreading the stuffing, you have two options: either roll each side towards the middle and flip the turkey on its back, then decorate the top and it is ready to roast.
Or you can pound the turkey meat very thin, and to even it out, spread the stuffing, and roll it like a proper roulade—think Swiss roll. 🙂 The choice is yours!
Good luck with this simple guide on how to debone a whole turkey and please do let me know how it turns out!
Recipe Card
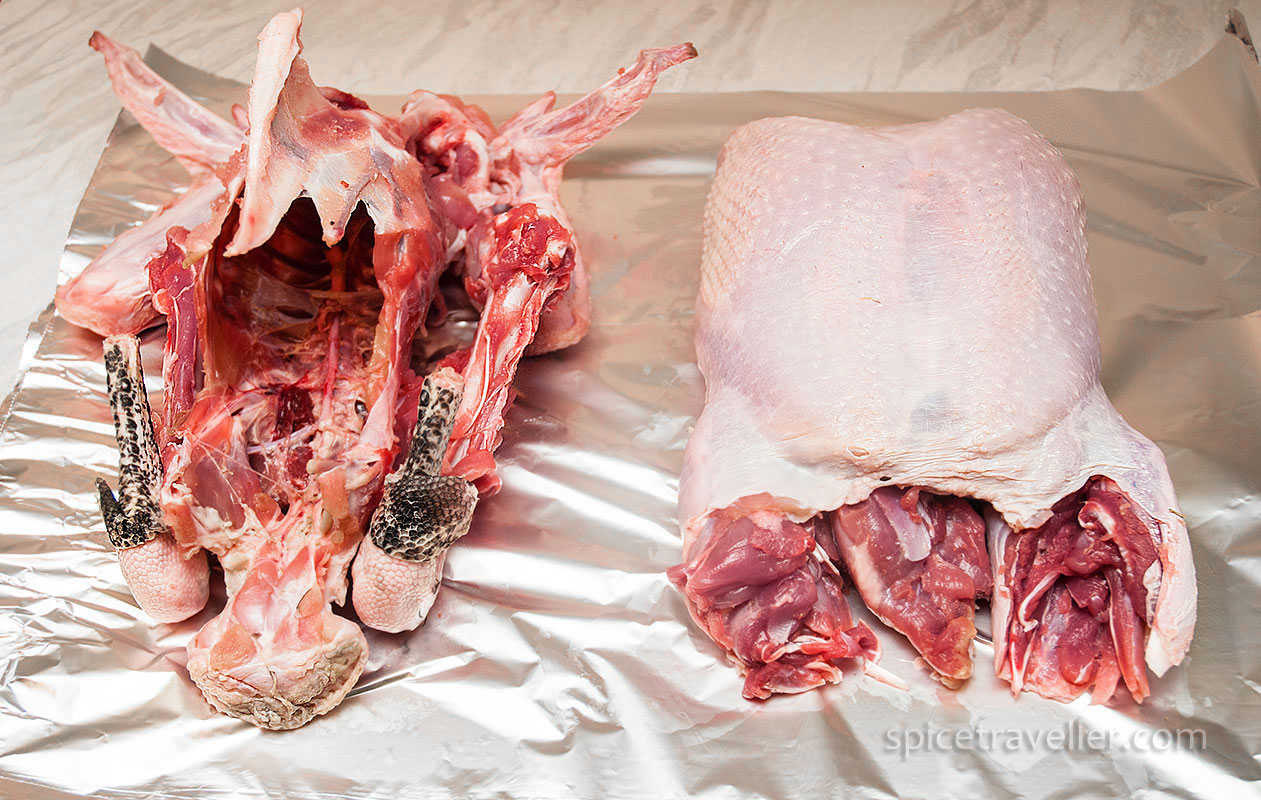
How to debone a whole turkey
Equipment
- scissors
- small very sharp knife
Ingredients
- 1 whole fresh turkey
Instructions
- If your turkey came with all the giblets, remove them and store them in the fridge for later.
- Turn the turkey so it lies on its chest, with the breast meat facing down.
- If you are planning to make a simple traditional turkey roast, you can leave the wings for the final presentation. However, if you are planning to stuff the turkey for a roulade, then cut off the wings now.Start by making a small incision and then continue cutting along the backbone.
![How to debone a whole turkey guide]()
- Slowly begin pushing the skin and flesh away, separating it from the bone as you progress with the cutting. Take it slowly, as it can be a bit fiddly, especially as there isn't much meat at the back. Just make sure you don't cut through the skin. Do it inch by inch.
![How to debone a whole turkey step by step]()
- You will reach the shoulder joint at the front and the hip joint at the back. You will have to cut around the shoulder bone. Remember, just go slowly. Use sharp scissors to work around the bones. Don't let this image confuse you; it's from a different turkey deboning session, showing the other side I began working on. I have included it to demonstrate the process of separating the meat from the shoulder bone.
![Starting deboning the whole turkey]()
- One side is nearly completed. The next step is to work on the leg.
![Deboning the whole turkey step by step]()
- If you tackled the shoulders first, turn the turkey so that the legs are facing you and begin cutting around the leg bone.Separating the meat around the leg ( drumstick) is a bit more challenging. Start from the narrow part of the leg and work towards the wider part, cutting through and removing meat off the leg bone as you go. Keep the skin intact.
![Deboning the whole turkey step by step]()
- The meat is now completely removed from the leg. It might not be in one piece, so don't worry if it's messy!
![Deboning the whole turkey step by step]()
- While finishing the leg, take care not to cut too deep; avoid slicing into the skin at the bottom, as this section of skin is crucial for holding the meat together. As shown in the photo, a portion of the skin remains intact (the area with no meat).It's not a problem if the meat is in bits; it will bind together with the stuffing and/or the skin.Now, repeat the same on the other side before you continue with the front part.
![Deboning the whole turkey step by step]()
- No need to turn the turkey to the other side (to lie on its back), just turn it slightly on its side when removing the breast meat from the breast bone. repeat the same with the other side. It is very easy to remove meat from the front. Just be careful; the skin is important, especially the part at the front, so be careful not to puncture it with a knife!
- You now have a perfect layer of turkey meat. The dark leg meat is a little messy, with some bits possibly cut off completely; just tuck them in and press with your hand. The white bits are tendons, simply cut them off with scissors, smaller ones you can leave in, they will soften during the cooking process.
![Whole deboned turkey meat ready for stuffing]()
- Perfectly deboned turkey meat!
![Whole deboned turkey meat ready for stuffing]()
- For a simple deboned turkey roast, you can leave the breast meat as it is. However, if you plan to create a roulade with stuffing, you will need to butterfly the breast meat to make it thin, this will also enlarge the layer of meat.
![Whole deboned turkey meat ready for stuffing]()
- Now cover the entire meat with cling film, tenderize the meat to even out the surface, and prepare it for stuffing.
![Whole deboned turkey meat ready for stuffing]()


